
The first time you hear that sizzle hit full volume, you know something is happening that a nonstick pan just can’t do. A cast iron skillet for searing steak is one of those kitchen combinations that sounds simple but hides a surprising amount of technique underneath. Get the heat wrong, or rush the pan, and you end up steaming your meat instead of browning it. Get it right and you’re eating something close to what a steakhouse charges forty dollars for.
This isn’t a gimmick or a food-blog myth. It comes down to physics: iron holds heat far better than thin aluminum, and that stored heat is what builds a deep, even crust through the Maillard reaction, the browning process that gives seared meat its flavor. Once you understand how to work with that heat instead of against it, the results stop feeling like luck.
Why A Cast Iron Skillet For Searing Steak Beats Nonstick
Nonstick pans are built for eggs and delicate fish, not for the kind of blistering heat a good sear demands. Most nonstick coatings start breaking down well before 500°F, which is roughly where you want your pan for a proper crust.
Cast iron has no such ceiling. Its thick, dense construction stores heat and releases it evenly across the surface, so the pan doesn’t cool down the second a cold steak hits it. Anyone who has cooked on both surfaces back to back notices the difference immediately: the cast iron keeps searing while the nonstick pan just sits there recovering.
There’s also the seasoning factor. A well-used cast iron pan builds a natural, oil-based coating over time that becomes genuinely nonstick, without the synthetic layer that eventually flakes or scratches away. Restaurants lean on cast iron and heavy carbon steel for exactly this reason, and the same logic scales down fine to a home stove.
One practical note worth flagging early: if your stovetop has a glass or ceramic surface, cast iron needs gentler handling than on gas or coil burners. The rough underside can scratch the glass, and dropping a heavy pan onto ceramic risks a crack. Sliding it slowly instead of dragging it solves most of that risk.
Choosing The Right Oil And Heat
Not every cooking oil survives the heat a steak sear demands. Butter alone burns fast, and extra virgin olive oil starts smoking well before the pan is hot enough to do its job.
The oils that actually hold up:
- Avocado oil – handles very high heat and has almost no flavor of its own
- Refined peanut oil – a classic steakhouse choice with a mild, nutty edge
- Grapeseed or canola oil – budget-friendly, neutral, and reliable past 400°F
- Clarified butter or ghee – adds richness once the initial sear is done
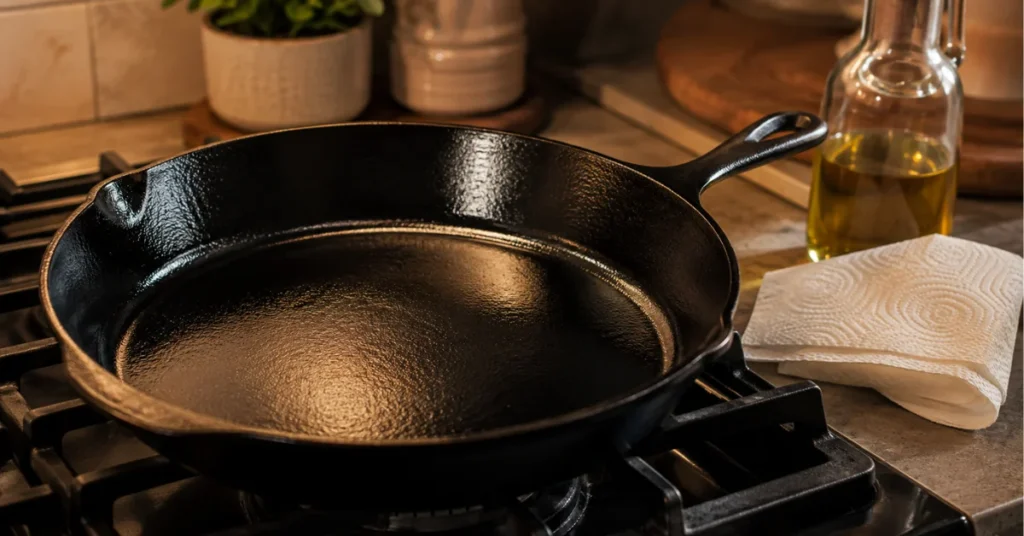
A thick cut of steak needs a pan that’s genuinely hot before it ever touches the surface, usually a few minutes of preheating on medium-high until the oil shimmers and just starts to ripple. If the oil is smoking heavily before the meat goes in, back the heat off slightly; a scorched oil taste ruins an otherwise great cut.
Searing this hot does produce real smoke, more than most other stovetop cooking. Turn the exhaust fan on before the pan even goes on the burner, crack a window if the kitchen allows it, and keep the oil to a thin coating rather than a generous pour, since excess oil is usually what pushes a smoke alarm over the edge. A thin film across the steak’s surface is enough; it doesn’t take much.
The Step-By-Step Sear
For an extra layer of flavor and a drier surface that browns faster, some cooks salt the steak heavily a day or two ahead and rest it uncovered on a rack in the fridge, a method known as dry brining. It’s not required, but it noticeably deepens both seasoning and crust compared with salting minutes before cooking.
Pat the steak completely dry before it goes anywhere near the pan. Surface moisture is the single biggest reason home cooks end up with gray, steamed meat instead of a crust. If you skipped the dry brine, salt generously and let it sit at room temperature for twenty to thirty minutes beforehand; a cold steak straight from the fridge cools the pan on contact.
Once the oil is shimmering, lay the steak away from you to avoid a splash and leave it alone. Resist the urge to move it around. Timing depends heavily on thickness: a steak around an inch thick usually needs two to three minutes per side, while a steak closer to an inch and a half can take closer to five minutes per side to reach the same doneness. For anything thicker than that, a reverse sear works better than a straight pan sear: cook the steak low and slow in a 225°F oven until it reads 110-115°F internally, then finish it in the screaming-hot cast iron for just one to two minutes per side. This avoids the thick gray band of overcooked meat that a long, hard sear alone tends to leave just under the crust.
Don’t skip the fat cap either. Holding a ribeye or strip steak on its edge with tongs for thirty to sixty seconds renders that strip of fat properly instead of leaving it chewy.
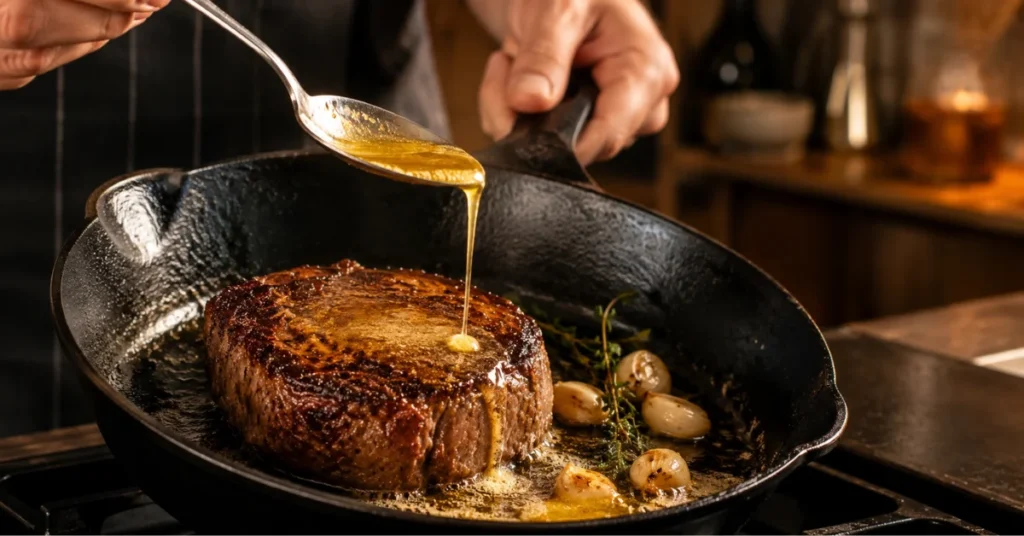
Toward the end, tilt the pan slightly and spoon the hot oil and rendered fat back over the top of the steak. Smashed garlic cloves and a sprig of fresh thyme dropped into the fat during this final minute add real depth, as long as the garlic goes in late; added too early, it burns and turns bitter instead of fragrant. Pull the steak once an instant-read thermometer confirms your target internal temperature, since guessing by touch or color is where most home cooks either undercook or overshoot doneness. Let it rest for a few minutes before cutting so the juices redistribute instead of running straight out onto the board.
Those aromatics also carry more of the seasoning load than most cooks realize — the same principle behind our guide to cooking without salt, where garlic, herbs, and citrus do the heavy lifting.
Common Mistakes That Ruin The Crust
Even good cooks trip over the same handful of errors with a cast iron skillet for searing steak, and most of them come down to impatience.
Overcrowding the pan is a frequent one. Two steaks in a pan built for one drop the surface temperature fast, and the meat ends up simmering in its own juices rather than browning. Cook in batches if needed, even though it’s tempting to rush dinner along.
Flipping too often is another. Constant flipping interrupts the crust before it has time to form, leaving pale, patchy spots. One flip, sometimes two for a thick cut, is usually enough.
A thick gray band right under the crust almost always traces back to searing a thick cut with high heat alone from start to finish; switching to the reverse sear method fixes it. A bitter, burnt-tasting crust is nearly always burnt garlic or herbs added too early rather than the steak itself. Skipping the rest period is a quieter mistake with the same result: juices pool out the moment the knife goes in, leaving a drier bite than the cook deserves.
Cast Iron Skillet For Searing Steak Care After Cooking
Cleanup is where a lot of people get nervous about cast iron, usually more than the actual cooking. A cast iron skillet for searing steak does not need soap-phobia or a dishwasher ban to survive. Warm water, a stiff brush, and a light scrub is enough for most messes; stubborn stuck-on bits respond well to a pinch of coarse salt worked in with a paper towel.
Dry the pan completely, ideally on the stove over low heat for a minute, since any leftover moisture is what invites rust. Finish with a thin wipe of oil while the pan is still warm, buffed in until it looks almost dry rather than greasy. That thin layer is what keeps building the seasoning every time the pan gets used, so cooking a cast iron skillet for searing steak regularly actually improves the surface rather than wearing it down.
If you’re setting the hot pan down on a glass-top range afterward to cool, let it sit for a minute on a trivet or cooling rack first rather than directly on the cooktop; the sudden temperature difference is harder on ceramic surfaces than on metal grates.
What The Research Shows
Food safety guidelines put the minimum safe internal temperature for whole cuts of beef at 145°F with a three-minute rest, though most experienced cooks pull steak closer to 130-135°F for medium-rare, relying on the sear itself to handle surface bacteria since the interior of an intact muscle cut stays essentially sterile.
On the oil side, testing consistently points to smoke points above 400°F as the workable threshold for a hard sear, which rules out delicate oils like extra virgin olive oil or plain butter used alone. Refined avocado oil sits near the top of that range, often cited above 500°F, giving it the widest safety margin before it starts breaking down and tainting the flavor of the crust.
Kitchen testing on searing methods also backs up the reverse sear for thicker cuts specifically: a single hard blast of heat from edge to edge browns the surface but pushes a wide band of overcooked meat inward before the crust even fully sets, while a low, gradual approach followed by a short hard sear keeps that band to almost nothing.
Put together, the pattern is consistent across professional kitchens and home testing alike: high stored heat, a high-smoke-point fat, and minimal disturbance of the meat while it cooks are what separate a genuine crust from a gray, sweated surface.
Who Should Use This Method
A cast iron sear isn’t only for confident home cooks chasing restaurant results. Apartment dwellers without access to a grill get a genuine char indoors, provided the kitchen has decent ventilation, since the smoke point of even a good oil will still produce some haze at full heat, and a working exhaust fan makes the difference between a smoky kitchen and a smoke alarm going off. Budget-conscious shoppers benefit too, since a basic cast iron pan often costs less than a mid-range nonstick one and lasts for decades instead of a couple of years.
Beginners sometimes assume cast iron demands special skill, but the technique is more forgiving than people expect once the pan is properly heated. The bigger adjustment is usually mental: trusting the pan enough to leave the steak alone instead of poking and flipping out of nervous habit, and trusting a thermometer over guesswork.
Conclusion
A cast iron skillet for searing steak rewards a little patience with a result that’s genuinely hard to get any other way at home. The heat retention, the honest crust, and the seasoning that only improves with use make it one of the few pieces of cookware that actually gets better the more it’s used. Once the habit clicks, a nonstick pan starts to feel like the wrong tool for the job entirely.
FAQs
Do I need to season a brand-new cast iron skillet before searing a steak in it?
Most modern cast iron cookware ships pre-seasoned and ready to cook with straight out of the box, though a light oil wipe before the first use never hurts and helps build the surface faster.
Why does my steak stick to the cast iron pan?
Sticking usually means the pan wasn’t hot enough before the meat went in, or the steak still had surface moisture. A properly heated, well-seasoned pan releases the steak naturally once a crust has formed.
Do I really need a meat thermometer to use a cast iron skillet for searing steak?
It’s not mandatory, but it removes almost all the guesswork. Pulling the steak by color or touch alone is where most home cooks either undercook or overcook it, especially on a hot cast iron pan where carryover heat keeps cooking the meat even off the burner.
How do I stop my cast iron skillet from smoking up the whole kitchen when searing steak?
Run the exhaust fan before the pan even heats up, crack a window if you can, and use a thin coating of oil rather than a heavy pour. Excess oil, not the steak itself, is usually what pushes a pan into heavy smoke.
Is cast iron actually better than stainless steel for searing steak?
Both can produce a good crust, but cast iron holds heat longer once the cold meat hits the surface, which makes it more forgiving for home cooks who don’t have a professional-grade burner.