
Most home cooks ruin sushi before the fish ever touches the plate. They rush the rice, guess at the water, and skip the fanning step entirely. Learning how to cook sushi rice properly is genuinely the difference between a soggy roll and something that tastes like it came from a real Tokyo counter.
I’ve stood over a hangiri more times than I can count, watching steam rise off a fresh batch while the vinegar hits hot grains and that sharp, sweet-sour smell fills the kitchen. That moment is when you realize why sushi chefs obsess over rice more than the seafood on top of it.
Why Sushi Rice Isn’t Just “Rice”
Sushi rice, known in Japan as shari or sumeshi, is short-grain rice seasoned with a cooked mixture of rice vinegar, sugar, and salt. It’s not the same as a bowl of steamed white rice served alongside dinner.
The rice itself carries a story. Sushi traces back to narezushi, an ancient preservation method where fish was packed into fermented rice and left for months, sometimes close to a year, with the rice originally thrown away and only the fish eaten. Vinegar eventually replaced that slow fermentation, giving rise to the fast, fresh style people recognize today.
That history matters because it explains the texture goal. You’re not cooking rice to be fluffy and separate. You want grains that cling together just enough to hold a roll’s shape without turning into paste.
How to Cook Sushi Rice the Traditional Way
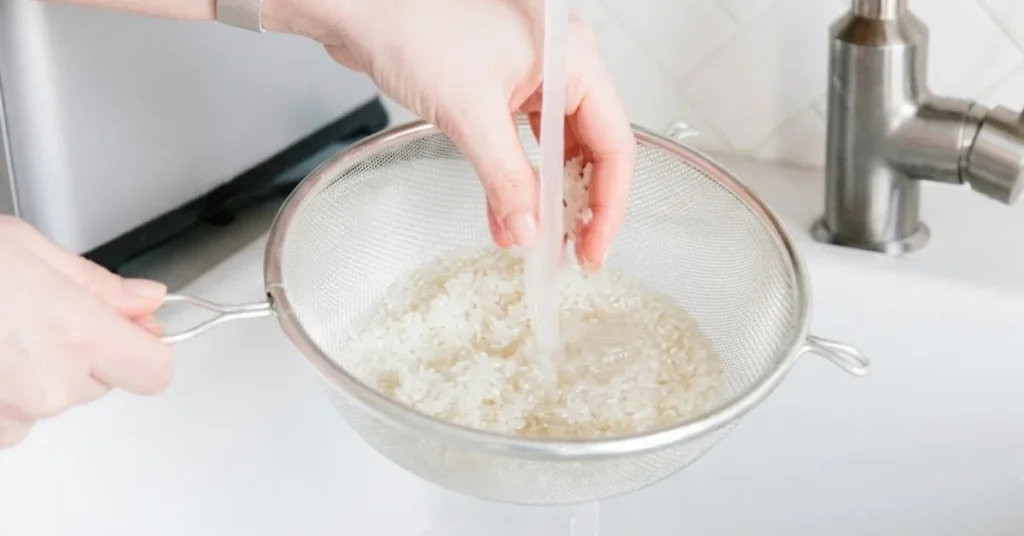
Here’s the process real sushi cooks actually follow, broken into stages so nothing gets skipped.
Step 1: Choose the right grain. Short-grain Japonica rice is the standard. Calrose and Nishiki are widely available substitutes outside Japan and work well for home kitchens.
Step 2: Rinse until the water runs clear. This isn’t optional. Rinsing strips excess surface starch that would otherwise make the finished rice gummy instead of glossy.
Step 3: Soak before cooking. Let the rinsed rice sit in cold water for twenty to thirty minutes. This lets moisture penetrate evenly, so grains cook through without a hard center.
Step 4: Get the ratio right. This is where most recipes disagree slightly, and it’s worth clearing up. Standard steamed rice uses roughly equal parts rice and water. Sushi rice needs marginally less, closer to a 1:1 or 1:0.9 ratio, because the grains need to stay firm enough to absorb the vinegar afterward without turning mushy.
Step 5: Cook, then rest. Bring it to a boil, drop to low heat, cover, and let it steam undisturbed. Don’t lift the lid. Once done, let it sit off the heat for another ten to fifteen minutes.
Step 6: Season while hot. Warm rice absorbs vinegar far better than cooled rice. This single detail is the one home cooks miss most often when figuring out how to cook sushi rice at a restaurant standard.
What You Actually Need to Buy
Beginners often overthink the shopping list. You need four things: short-grain rice, unseasoned rice vinegar, sugar, and salt. That’s genuinely it for a basic batch.
A quick note on vinegar. Grocery stores sometimes stock “sushi vinegar” that’s already pre-seasoned with sugar and salt mixed in. That’s a fine shortcut for busy weeknights, but it removes your ability to control sweetness, so read the label before assuming it’s plain rice vinegar.
Kombu, the dried kelp strip, is optional but worth keeping in a pantry drawer. It adds a mild umami note to either the cooking water or the vinegar mix, and a single strip lasts through several batches since you only need a small piece each time.
For equipment, a wide, shallow bowl works if you don’t own a hangiri. The goal is surface area. A deep pot traps steam and keeps the rice hot too long, which slows down cooling and dulls the shine you’re after.
The Vinegar Mixture That Makes It “Sushi”
The seasoning is simple on paper: rice vinegar, sugar, and salt, warmed gently until dissolved. Some cooks add a strip of kombu to the vinegar or the cooking water for a subtle savory backbone.
Anyone who has spent real time behind a sushi counter knows the ratio is personal. Sharper vinegar reads as classic Edo-style. A touch more sugar leans toward the sweeter regional style found in parts of western Japan.
Pour the warm vinegar over the hot rice and use a cutting, slicing motion with a paddle. Never stir. Stirring crushes grains and turns the batch gluey. Fan the rice as you fold it, which cools it fast and gives it that signature glossy sheen.
How to Cook Sushi Rice Without a Rice Cooker
Not everyone owns a rice cooker, and that’s fine. A heavy-bottomed pot with a tight lid does the job.
Bring the soaked, rinsed rice and measured water to a rolling boil uncovered, then immediately cover and drop the heat to the lowest setting. Cook for around fifteen minutes without peeking. Pull it off the heat and let it rest, still covered, for ten more minutes.
The stovetop method demands more attention than a machine, but it’s exactly how home cooks in Japan managed for generations before electric cookers existed. Once you’ve done it two or three times, the rhythm becomes second nature.
Pressure cookers and Instant Pots offer a third path. Set the rice and measured water on the rice setting or manual high pressure for around six minutes, then let the pressure release naturally for ten minutes before opening the lid. It runs faster than the stovetop and needs almost no supervision, which makes it a solid option for anyone cooking rice on a weeknight schedule.
Electric rice cookers with a dedicated “sushi rice” or “sumeshi” setting are the most forgiving option for a first attempt. The machine adjusts the cooking time slightly to account for the drier target texture, so you don’t need to worry about timing at all. If your cooker only has a standard white rice setting, that still works fine as long as you’ve measured the water using the ratio above.
Common Mistakes That Ruin the Batch
A few missteps show up again and again:
- Skipping the rinse, which leaves rice starchy and clumped instead of separate and glossy
- Using warm or room-temperature vinegar on cooled rice, which never absorbs properly and leaves flat, unseasoned bites
- Stirring instead of slicing, which mashes the grains and turns a batch pasty
- Over-salting the vinegar mix without tasting first, which overpowers whatever fish or filling goes on top
- Using long-grain rice, which lacks the stickiness sushi needs entirely and falls apart the moment you try to roll it
Fixing even one or two of these solves most “why does my sushi rice fall apart” complaints instantly. Anyone who has made a batch that turned out too wet or too dry once usually never repeats the same mistake twice, since the fix is so simple once you know where it went wrong.
What the Research Shows
Professional chefs and food writers consistently point to timing as the real variable that separates good sushi rice from great sushi rice. Detailed breakdowns from Japanese culinary sources show that seasoning rice within moments of it finishing steam gives noticeably better vinegar absorption than letting it cool first.
There’s also a well-known industry anecdote worth repeating here. A famous exchange between the late food writer Anthony Bourdain and a veteran New York sushi chef centered on what actually matters more, the fish or the rice, and the chef’s answer put nearly all the weight on the rice itself. That single conversation has shaped how a lot of home cooks now approach the dish, treating rice as the star rather than a filler underneath the fish.
Serving and Storing Sushi Rice
Sushi rice is best used the same day it’s made, ideally within a couple of hours while it’s still at room temperature. Refrigeration hardens the starch and dulls the texture, so it isn’t the move if you can help it.
If you do need to hold it briefly, cover the bowl with a clean, damp cloth. This stops the surface from drying out and cracking while you prep fish, vegetables, or nori.
Beyond Sushi Rolls
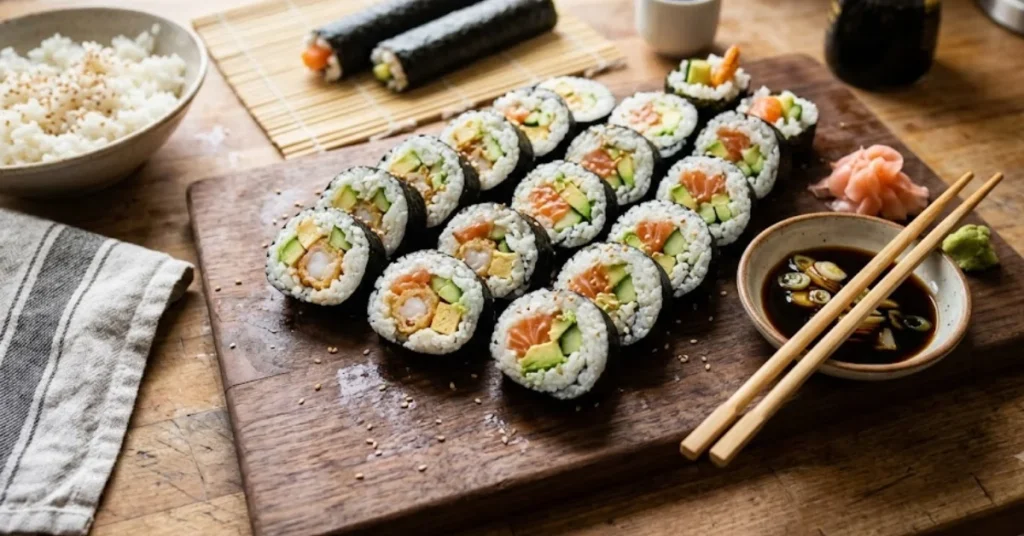
Once you’ve nailed the technique, seasoned rice isn’t limited to maki and nigiri. It works just as well in poke bowls, chirashi bowls, or simple onigiri rice balls. Anyone who cooks Japanese food regularly ends up using this same base rice for half a dozen different dishes throughout the week.
Conclusion
Getting how to cook sushi rice right comes down to a handful of details done in the right order: rinse thoroughly, soak before cooking, respect the ratio, and season the rice while it’s still hot. None of it is complicated, but skipping any single step shows up immediately in the texture. Once the process clicks, sushi night at home stops being a gamble and starts tasting like something worth repeating.
FAQs
Do I really need to rinse the rice before cooking it?
Yes. Skipping this step leaves excess starch on the grains, which makes the final texture heavy and clumpy instead of light and glossy.
Can I use regular white rice instead of short-grain rice?
Long-grain rice won’t hold together the way sushi needs. Short-grain Japonica varieties like Koshihikari, or substitutes like Calrose, are what give sushi rice its signature stickiness.
Why does my sushi rice turn out mushy?
Usually too much water, stirring instead of slicing during seasoning, or adding vinegar after the rice has already cooled down too far.
How long does seasoned sushi rice last?
It’s best eaten the same day, ideally within a few hours at room temperature. Refrigerating it changes the texture noticeably.
Do I need a rice cooker to make good sushi rice?
No. A regular pot with a tight-fitting lid works fine on the stovetop, though it needs closer attention to timing than a machine does.